Clean and pure water filters have always been the number one choice of the residents of the US.
This is because their countertop filters are so easy to carry and install that even an amateur can do it. The best part about buying this water filter is that it is maintenance-free.
People who are currently using this water filter are more than just satisfied with its ultra-efficient performance and efficient filtration to give you only clean and purified water.
In this article, you are going to get complete guidance on how to install your Clean Countertop and Pure countertop water filter without any hassle.
Clean And Pure Countertop Filter Installation Guide
Assembling and setting up Clean and Pure countertop water filter is pretty easy and simple. You don’t need to be a technical expert or call a plumber.
Let us have a look at the step by step guide to install this countertop water filter.
Video Tutorial: Install Clean and Pure Counter-top Water Filter
1. Disassembly Of The Filter
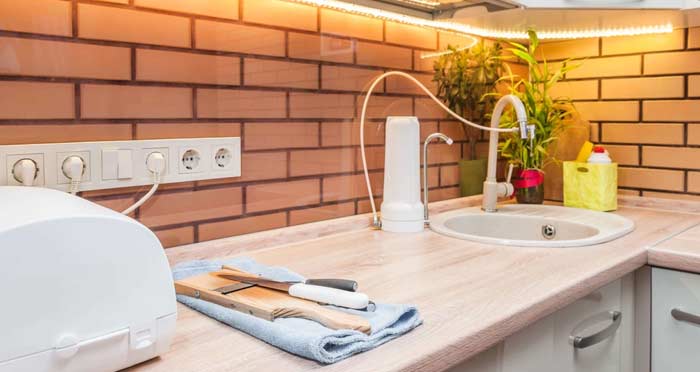
This first step is to disassemble and clean the filter from the inside so that you can check if there is a problem in it at the initial stage. Once it is cleaned, position it near to the sink because it will be attached directly to your kitchen faucet as well.
Make sure the system is free from any obstacles so that you won’t need to buy a lengthier water pipeline to attach both the filter and faucet together.
2. Set Up Your Faucet
Now unscrew the aerator from your sink faucet and attach the filter’s diverter valve line in its place. You can use one of the enclosed adapters if the valve line doesn’t fit the size of your faucet.
Usually, these countertop filters are designed to attach with standard-sized faucets, which is why it comes with all the essential tools and parts in case yours is a different faucet.
3. Determine Your Faucet Thread
There are two types of faucet threads. You need to determine between these two so that you know whether the line will need an enclosed adapter or not. It will help you save time in the installation process.
If the faucet thread is an outside one, then no enclosed adapters will be needed. If you have a faucet with an inside thread, then you will have to attach an enclosed adapter so that the diverter line will fit.
4. Assemble The Filter
When the faucet is all set up, it’s time to assemble the filter. Set the cartridge in a suitable position and cap it properly with the help of a filter housing. The filter housing is usually made up of durable plastic so that you won’t be worried about its longevity.
After fixing the filter, check the faucet. The arrear adapter will be removed from the spout after which you will set up a new adapter that will match the size of the diverter filter.
You can tighten up the adapter with the spout manually; however, a wrench can also be used for perfection.
5. Complete Setup And Check For Leaks
You will need the washers to fix the diverter line with the spout. Tighten it up with your hands and you are done. Now, turn on the water and let it run down the faucet as usual.
Turn on the diverter tab and the filter will start filtering the water. Recheck the pipeline and knob for any leakage. If it leaks, tightens up the spout once again.
Check More: Commercial Water Filters
Why Clean And Pure Countertops Water Filters Are Good
A lot of people will be wondering why Clean and Pure countertop water filters are so popular. To get the right answer, it is recommended that you try it out for yourself.
With little to no maintenance, these water filters are designed to last long and backed by the company’s limited warranty.
Please note: CharlieTrotters.com is reader supported. This page may contain affiliate links. If you buy a product or service through such a link we earn a commission at no additional cost to you.

